If your site generates liquid waste, you’ll understand the importance of having it collected and treated properly. Whether it comes from industrial processes, septic tanks, interceptors, or washdown areas, liquid waste requires specialist handling. It’s not something that can simply be poured away or left to evaporate.
At GD Environmental, we handle a wide range of bulk liquid waste removals across Wales and the Southwest. We work with factories, garages, construction sites, and domestic customers who need septic tanks or cesspits emptied. Every job is slightly different, but one thing they all have in common is that good preparation makes everything run more smoothly.
Getting ready for a tankering job doesn’t need to be complicated. It’s mostly about making sure our teams can access your site safely and complete the work efficiently. This guide explains what to check before we arrive, what to expect on the day, and how to keep your system in good condition afterwards.
Understanding what bulk liquid waste removal involves
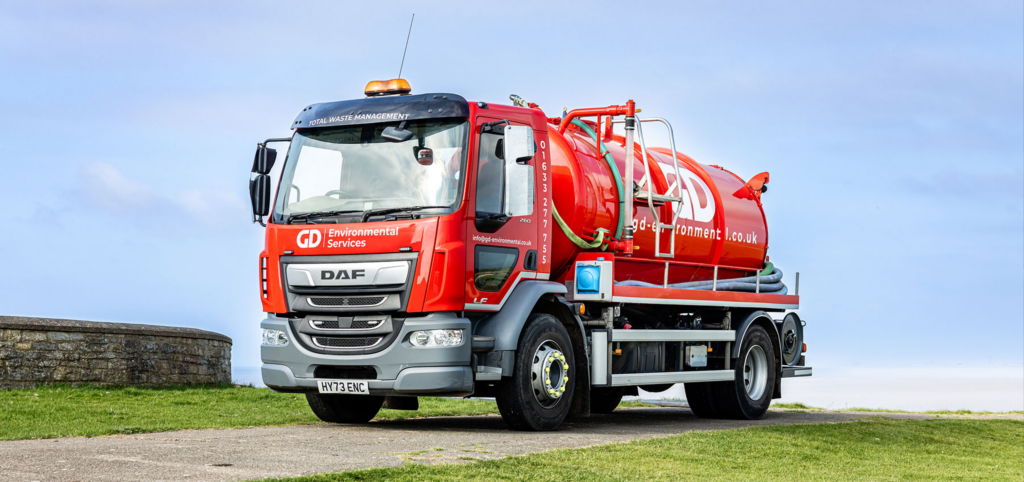
Before looking at preparation, it helps to understand what happens during the removal process. Tankering is a specialist operation that uses large vacuum tankers to collect and transport liquid waste for treatment or disposal. These tankers create suction that pulls waste into a sealed tank on the vehicle.
Depending on the type of waste, it will then be taken to a treatment facility, recycling plant or, in some cases, an authorised disposal site. Common examples include:
- Septic tanks and cesspits
- Interceptors and drainage systems
- Industrial or process effluent
- Contaminated water
- Floodwater and emergency pump outs
Because the waste can vary from harmless rainwater to hazardous sludge, the equipment, safety procedures, and documentation all have to be correct for the job.
Step 1: Check what type of waste you have
The first step in preparing for a bulk liquid removal is identifying what’s actually in the tank or pit. Different materials need different treatments. For example, clean water from a washdown area might be straightforward to handle, while oily waste or chemicals require special containment and disposal routes.
If you’re not sure what’s in your system, our team can arrange a sample analysis (call 01633 277 755) . This confirms whether the waste is hazardous or non-hazardous and helps us select the right type of tanker. Having that information in advance avoids delays on the day of collection.
For regular maintenance work, such as routine septic tank emptying, it’s usually easy to confirm what’s in there. For one-off or older systems, taking a few minutes to clarify the contents is always worth it.
Step 2: Make sure there’s clear access
Our vacuum tankers are large vehicles, and they need enough space to get close to the tank or access point. Before your collection day, it’s a good idea to check the route from the main road to where we’ll be working. Look out for low trees, narrow gateways, parked cars, or uneven ground that might make entry difficult.
If the tanker can’t reach the tank directly, we can often use extra hose lengths to bridge the gap. However, this takes longer and may reduce suction power slightly, so the closer we can get, the better. As a guide, standard hoses reach around 30 metres, but we can extend this for larger sites.
For commercial or industrial locations, it’s also helpful to let your staff know the date and time of our visit. Keeping access routes clear and ensuring any safety barriers or gates are unlocked will help the job run smoothly.
Step 3: Locate and uncover the tank or chamber
One of the most common delays during liquid waste removal is locating the access covers. Over time, they can become buried under soil, gravel, or even concrete. Before we arrive, take a moment to find the access points and make sure they’re visible. If you can safely expose the lids or hatches, even better.
For septic tanks and cesspits, there’s usually a main inspection cover that we’ll need to reach. For interceptors or larger tanks, there may be several access chambers. Marking these with flags, cones, or temporary paint can be useful if your site covers a large area.
If you’re not sure where the tank is, we can help locate it using our equipment, but this will add time to the visit.
Step 4: Ensure the area is safe to work in
Safety is a major part of any waste removal job. Before we begin, we’ll carry out our own risk assessment, but there are a few things you can do beforehand to make the site safer for everyone.
- Keep the area around the tank clear of obstacles.
- Avoid parking vehicles or storing materials nearby.
- If the ground is soft, muddy, or uneven, consider laying boards or temporary ground protection so our tanker can remain stable.
- Make sure there’s no risk of machinery, vehicles, or pedestrians crossing hoses during the work.
- If the tank is in a confined space, tell us in advance so we can bring the right safety equipment.
For sites with specific safety procedures, such as factories or construction zones, please have any induction or permit to work paperwork ready. This helps us comply with your internal policies and complete the job efficiently.
Step 5: Plan for power and water if needed
Most tankering jobs are completely self contained. Our vehicles have their own power supply and water for cleaning. However, in some cases, such as interceptor cleaning or high pressure jetting, we may need access to a water source.
If you know that your system requires jetting or washing out, check where the nearest tap or hydrant is and make sure we can reach it. Letting us know in advance means we can plan accordingly and bring any adaptors or fittings needed.
Step 6: Understand what to expect on the day
On the day of your bulk liquid removal, our operatives will arrive at the agreed time and carry out a quick safety check before starting. The process usually involves:
- Positioning the tanker and setting out cones or barriers.
- Connecting suction hoses to the tank or chamber.
- Pumping the waste into the tanker.
- Cleaning the area if required.
- Sealing and documenting the load for transport.
For smaller domestic jobs, such as septic tanks, the whole process can take less than an hour. For larger industrial systems, it can take several hours depending on the volume and access.
Once the tank is empty, our team will remove the hoses, tidy the area, and confirm that everything has been completed. You’ll receive a waste transfer note or consignment note, depending on whether the waste is hazardous. This document provides legal proof that your waste has been collected and is being handled by a licensed carrier.
Step 7: What happens after collection
After the waste leaves your site, it’s taken to one of our licensed facilities for treatment or disposal. Non-hazardous liquid waste is typically treated to separate solids and liquids before being processed further. Hazardous waste goes through specialist treatment to neutralise contaminants and ensure it meets strict environmental standards.
Every load is tracked from collection to final destination, giving you complete traceability. This is especially important for businesses, who have a legal duty of care for their waste. We store this documentation electronically, so you can request copies at any time.
Step 8: Maintaining your system between visits
Proper maintenance helps prevent blockages, overflows, and costly emergency callouts. Here are a few simple tips to keep your system running well between scheduled removals:
- Regular checks: Inspect your tank or interceptor covers for signs of damage or corrosion.
- Don’t overfill: Arrange emptying before the tank reaches capacity. Overfilled systems can leak or back up.
- Avoid harmful chemicals: Certain cleaning products can kill the bacteria that help break down waste in septic systems.
- Record service dates: Keeping a log of when the tank was last emptied makes it easier to plan the next visit.
- Look for warning signs: Slow drainage, bad smells, or pooling water can all indicate that it’s time for a service.
If you’re unsure how often your tank should be emptied, our team can advise based on its size, usage, and type of waste.
Why preparation matters
A bit of preparation saves time, money, and hassle. When access is clear, the tank is visible, and the right information is ready, our team can complete the job safely and efficiently. It also reduces the chance of unexpected delays or extra costs.
For businesses, good preparation also supports compliance. The Environment Agency requires that waste be stored, transported, and treated correctly. Having clear access, proper identification, and the right paperwork helps meet those requirements easily.
For domestic customers, preparation often just means knowing where the tank is and keeping the area tidy. It may sound simple, but it makes a big difference.
Preparing your site for a bulk liquid waste removal or tankering job isn’t difficult, but it does make the process far smoother. By knowing what waste you have, providing good access, and making the area safe to work in, you help ensure the job is completed quickly and to a high standard.
At GD, our goal is always to make waste removal as straightforward and stress free as possible. Our trained operators, modern fleet of tankers, and licensed treatment facilities mean every job is handled responsibly from start to finish.
If you’re planning a one off tank empty or setting up regular maintenance, taking a little time to prepare beforehand will make all the difference. You’ll get a cleaner, safer site and complete peace of mind that your waste has been dealt with properly.